Taking photos, for me, is one of the most
important and satisfying parts of writing my blog. I believe that a picture can
speak a thousand words. I find blogs without photos so sad to look at. I love
everything visual and creative, and sometimes, it's the photographs that really
make a blog stand out to me. Sometimes photography doesn't come so naturally to
some people, and without knowing too much about what you're doing or how to use
a camera, it can all be a bit much to take in. I receive an awful lot of
questions and requests based around blog photography. How do I edit? How do you
manage to get good shots? I'm not saying i'm the master of photography (I wish I
was though), everyone has their unique photography style, but I thought I would
share a few pointers with you when it comes to snapping photos for your blog,
and if it helps you in any way, then that's just a huge bonus.
The Instrument
(that's camera to you and
me)

It's important to understand, first and
foremost, that you don't need a whopping great DSLR that costs you thousands of
pounds in order to take a good photograph. When I first started blogging, I used
a little digital camera that cost around £70. I then progressed onto a slightly
more expensive digital camera (
this one to be precise)
and for my 21st Birthday I received a Canon EOS 600D (
available to buy/snoop at here
). I took photography as an A Level in Sixth Form, so I was
pretty clued up on slightly more advanced photography and this also meant that
even before I started writing a blog, i'd always wanted a DSLR camera. I didn't
JUST get it for blogging or filming videos, but because it was one of
those things on my wish list for many, many years.
You do not need to
feel as though in order to have great photos on your blog, you have to invest in
an expensive camera, although it is just that for me, an investment. I would be
lying if I said there was no difference between the quality of a standard
digital camera and a DSLR, because there are obviously differences, which are
reflected in the prices of both. If you were ever thinking of upgrading your
digital camera, then I would definitely advise taking a look in your nearest
camera/electrical shop and having a little play around with them. It's a lot of
money to spend so do your research. Having said that, if you are quite happy
with the quality of your digital camera, and you aren't a photography geek like
me so getting something larger and more expensive isn't something you're really
looking to do, you can still take some amazing photographs, if you do it
properly and with a creative eye. If you are choosing to use your smart phone,
make sure the quality is good enough so that when your photos are blown up
slightly larger, they don't look really pixelated. Nobody likes a pixelated,
crappy photograph.


Stock Photos
I know that not everybody will agree with me,
but I just find stock photos the lazy way out. I like to see half empty and
loved products on blogs as well as excited snaps of new products. It's nice to
know that you are really using it, and loving it, and that you do actually own
it . It's all very easy to just write about a pretty lipstick, pop up a stock
photo and to not even own the product (of course press releases on products not
yet launched is a different matter).
These days, I look to blogs for
honest reviews, and nothing speaks more honestly than seeing the product sat on
someone's dressing table, being used. I also think that stock photos can look a
bit messy, as they are often very small files, only meant for small viewing on a
website and not to be copied, pasted and enlarged. So when placed on your blog,
they can look tiny and a bit lost, or fuzzy once resized. Although saying this I
know that many people with great photoshopping skills can pop stock photos from
websites into a pretty collage for wish lists etc! It's quite a grey area, some
people make it work, some don't. Some have a good mixture, some use nothing but
stock photos. Just something to bare in mind.
Lighting
Once you've established that instead of being a
lazy "so and so" you are going to photograph the product yourself, it's
important to make sure you have good enough lighting. Lighting is one of the
most important factors when taking a photo. Natural light is an absolute god
send. It makes a picture clearer, crisper, and reflects it's true colours
(especially important if you are showing swatches). All too often it's
inconvenient to photograph something in the natural light, maybe you got home
from work late, it was an exceptionally grey or gloomy day, or you think it's
easier to just whack the bedside lamp on or use the main light in your house to
get a photograph. For times like this, you might want to think about buying a
daylight bulb or studio lighting. I own studio lighting, but mainly for the
purpose of filming videos. I wouldn't have ever gone out and bought it JUST for
blog photos as I think that could be deemed a little extravagant (unless of
course you are a complete perfectionist when it comes to clear, bright
photographs and you think it could be very useful to you). You can buy daylight
bulbs from most places, and they are fairly cheap, just pop it in your lamp and
you're good to go. If you tend to take most of your blogging photos at night,
you might want to consider this. If, however you LIKE the slightly more
orange/yellow tone of a standard light bulb, then you can just carry on as you
are. Just for reference, the lights I own are
these ones!
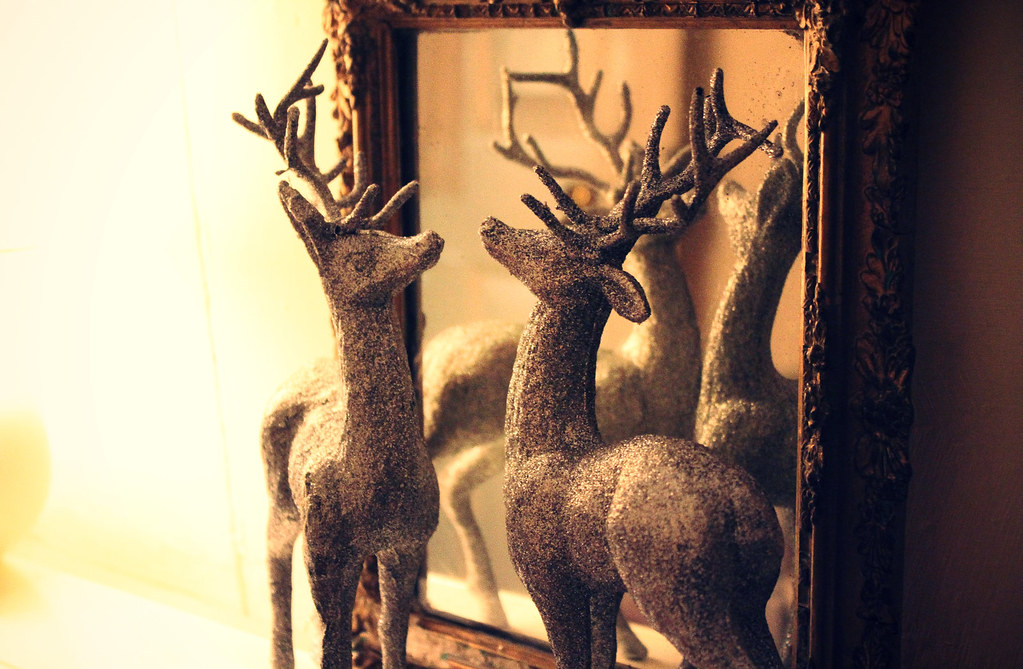
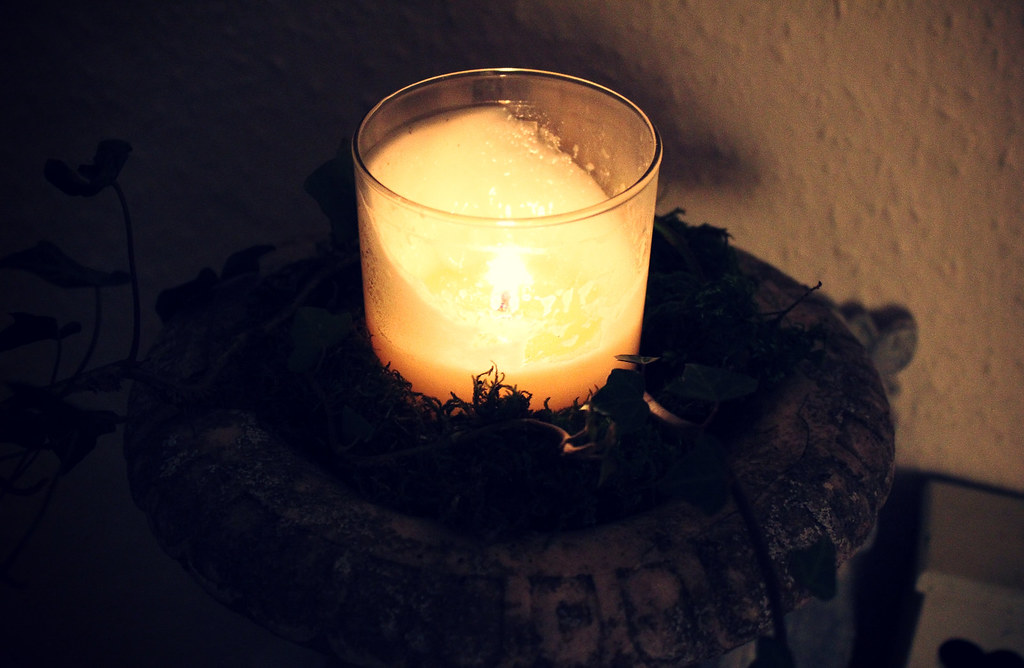
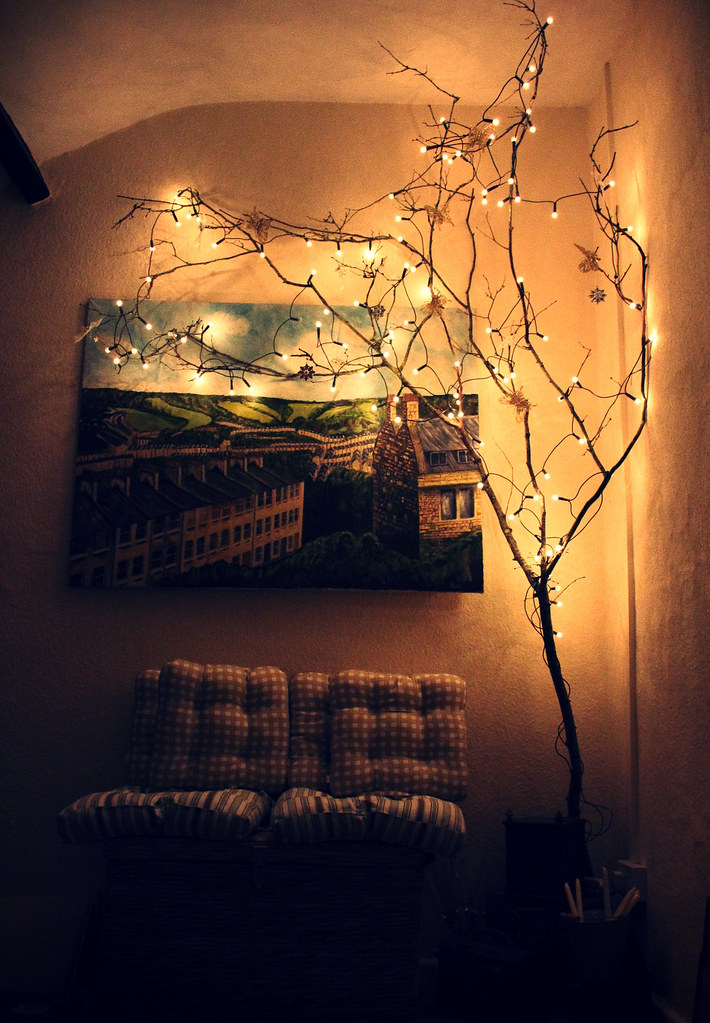
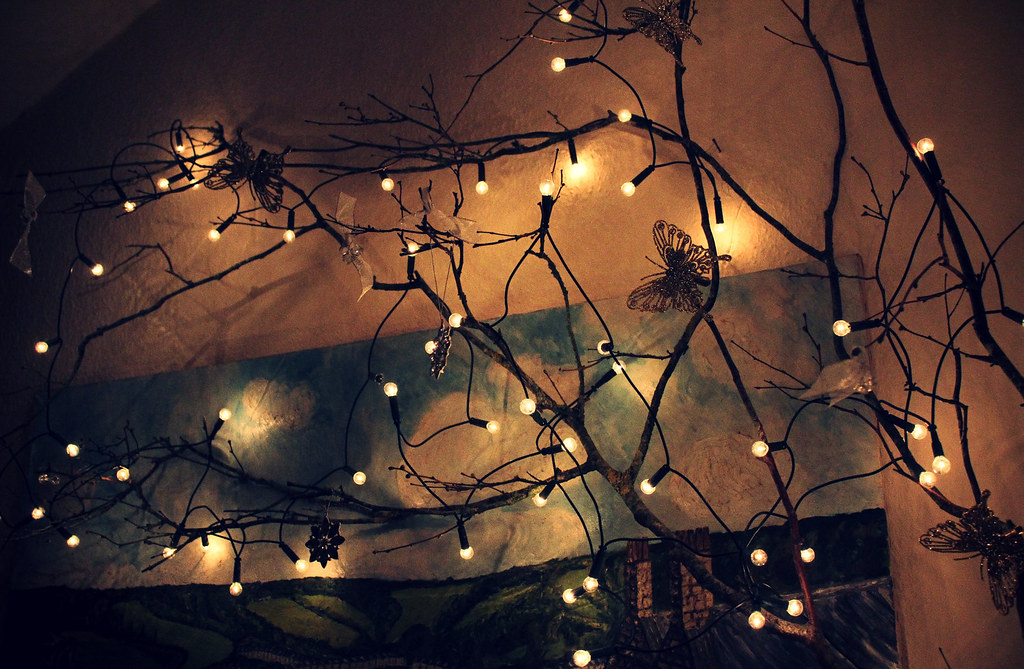
Sometimes, I don't like to use a bright white light, if you are
opting for a slightly more ambient photograph (say if you were photographing
your bedroom with candles or fairy lights etc), then they look much better
without a bright light or flash. It sets the mood somewhat.

You may also want to consider using a tripod if you are opting
for low light shots, as the shutter stays open much longer, and could cause you
to have a slight blurry photograph without it being held steady.
You
might also want to avoid using your camera's built in flash, as more often than
not, it just completely washes out any colour and reflects off the subject you
are photographing. I feel as though the camera flash is a bit too harsh at
times, so I tend to avoid using it. Instead I will use natural light or the
studio lights.
Don't take a photograph INTO the light. This is one of
the first things you learn when taking photos or studying photography. I'm sure
it looks great if that is the sort of effect you are going for, but on a more
everyday scale, it looks a bit pants (see below).
It's just about
experimenting really, seeing which methods of light you prefer for different
photo shots.


Some of you may find it difficult when it comes
to actually taking the photo. This is where your creative side needs to step up
slightly. Think about angles, composition and product position. Sometimes I like
to take my photos on an angle, as I feel it makes the overall viewing experience
slightly more interesting. You want to think about whether you want to
photograph your product lying down, standing up, with the lid on, off, open or
closed. Just experiment with different shots.
This is part of the joy of
owning a digital camera, you can take hundreds of shots, and then simply delete
the ones that you don't like. Once you have the lighting right, all that's left
to do is make sure you like everything in the frame. Is the background simple?
Does it distract from the product, or does it make your picture a little more
interesting? Is the background colour a good contrast to your product colour, or
are the two merging making it more difficult for you to see the
product?
It's also important to decide how much of the product you are
going to have in the frame. You don't want to take the photo from far away so
that your readers see more of the background than the product you are trying to
show them. This is where cropping can come in very useful, make sure you have a
good balance between product and background. Make the product the focal point,
not the rest of your bedroom. If you do very fashion-based blogs, or you want to
photograph a picture of yourself without having to hold your